Android Activation
The following sections demonstrate the activation screens for a typical Android application which integrates the Cashback Keyboard SDK.
- Splash Screen
- Welcome Screen
- Data Constent Screen
- Add Keyboard Screen
- Switch Keyboard Screen
- Switch Keyboard - Success Screen
Splash Screen
This is a short animation based on the application logo

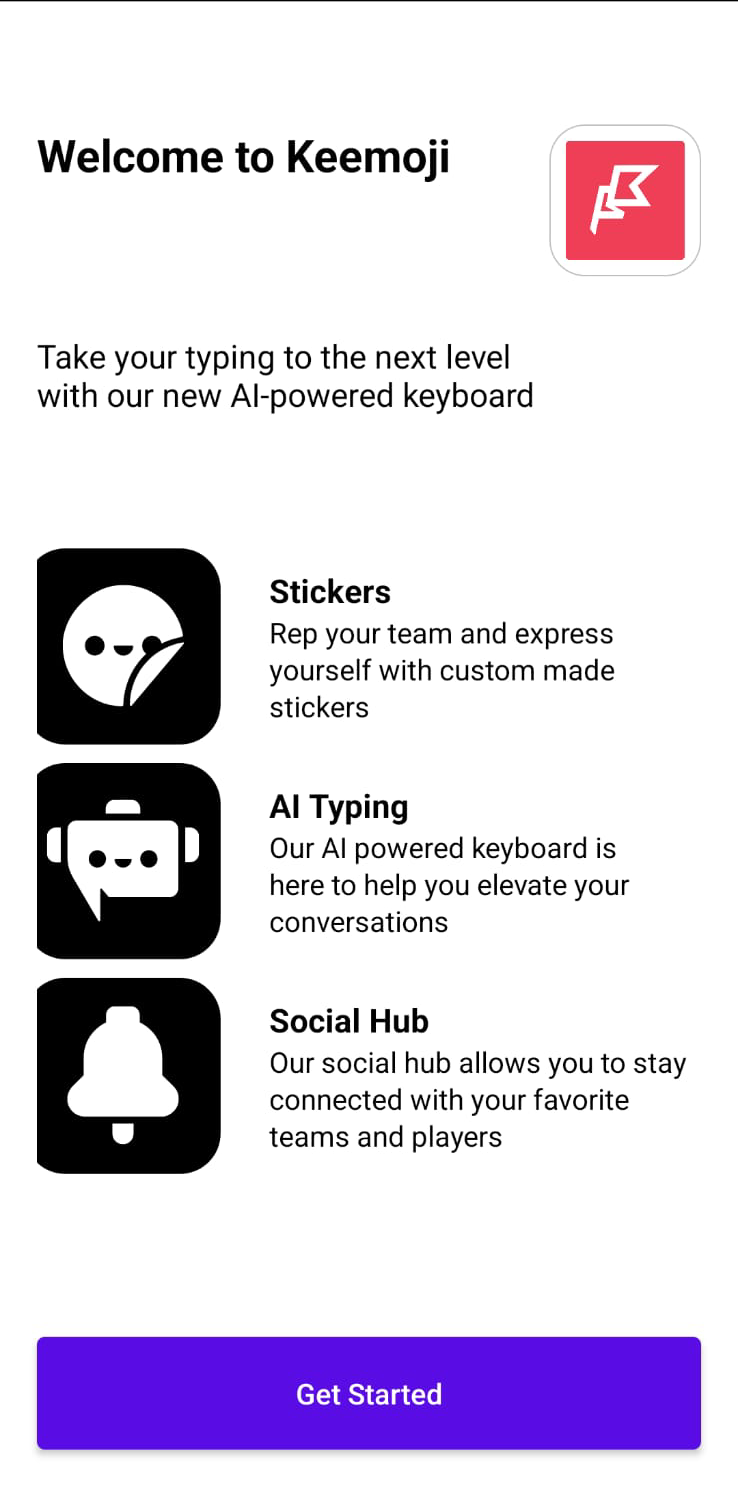
Welcome Screen
This screen contains a list with some of the features of the keyboard.
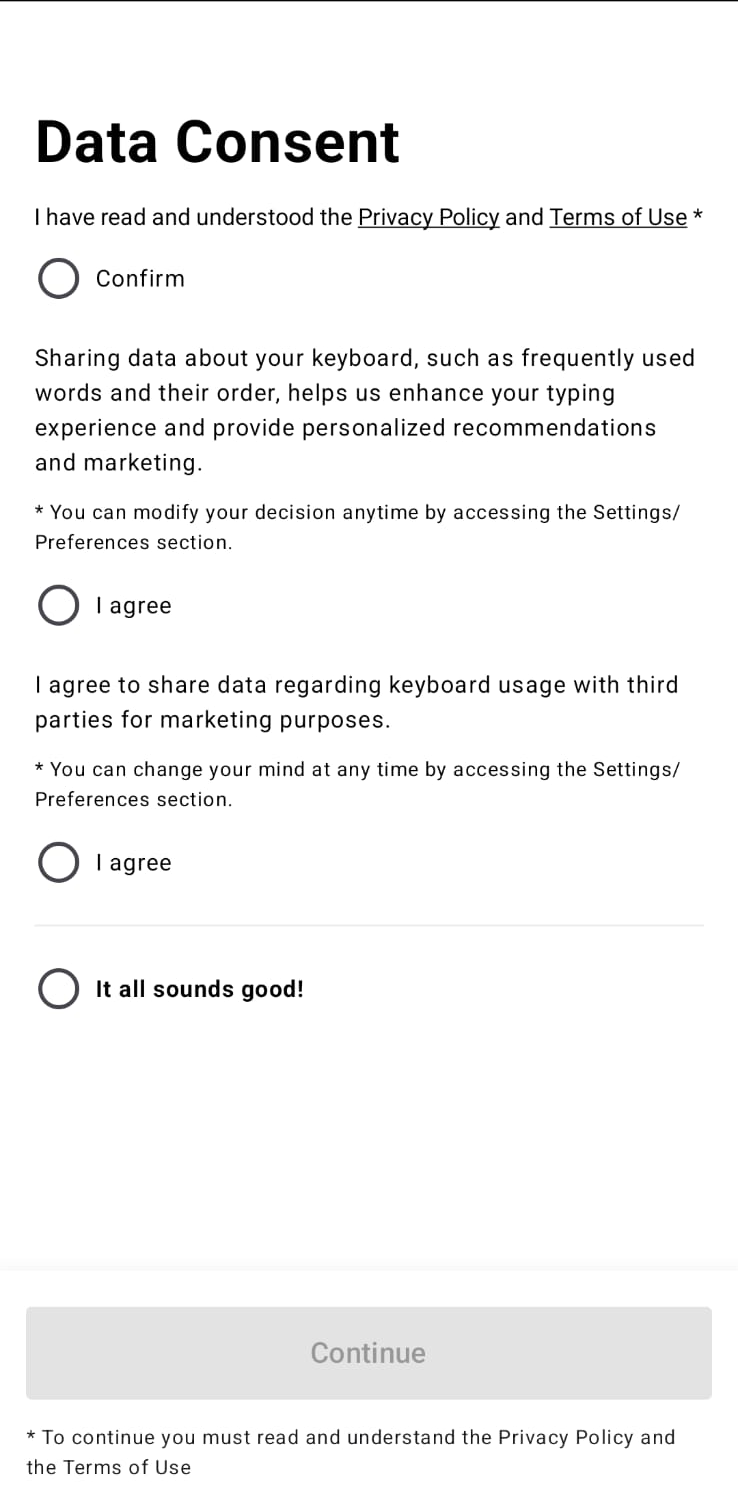
Data Consent Screen
It includes:
- Mandatory acknowledgment of the Privacy Policy and Terms of Use.
- Optional consent to enhance typing experience by sharing keyboard data.
- Optional consent to share keyboard data with third parties for marketing.
Users can agree to all terms quickly with the It all sounds good! option or change preferences later in Settings. The Continue button finalizes the user’s choices.
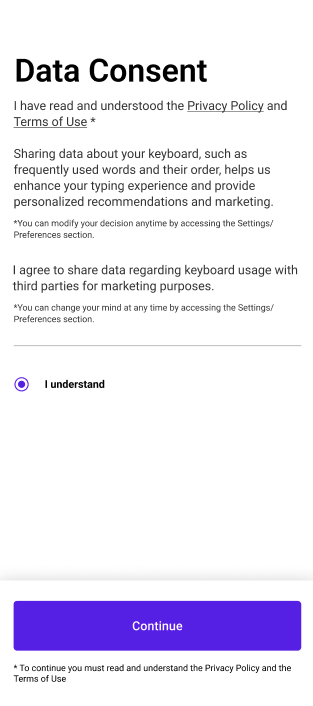
Note: In the US, this screen differs slightly, as we present only one consent. This complies fully with U.S. regulations.
Add Keyboard Screen
This screen is the first step in a three-part process to add the keyboard to Android. It highlights the following points:
- A standard Android warning about adding keyboards, clarifying that the G2 Keyboard does not collect passwords or credit card information.
- An explanation of how data is used to improve the keyboard's AI-powered features like spelling, predictive text search, and marketing. It states that only non-identifiable usage data and non-specific location data (city-level) are used.
Two actionable buttons are present:
Add Keyboard to begin the keyboard installation.
Switch Keyboard to change the current keyboard.
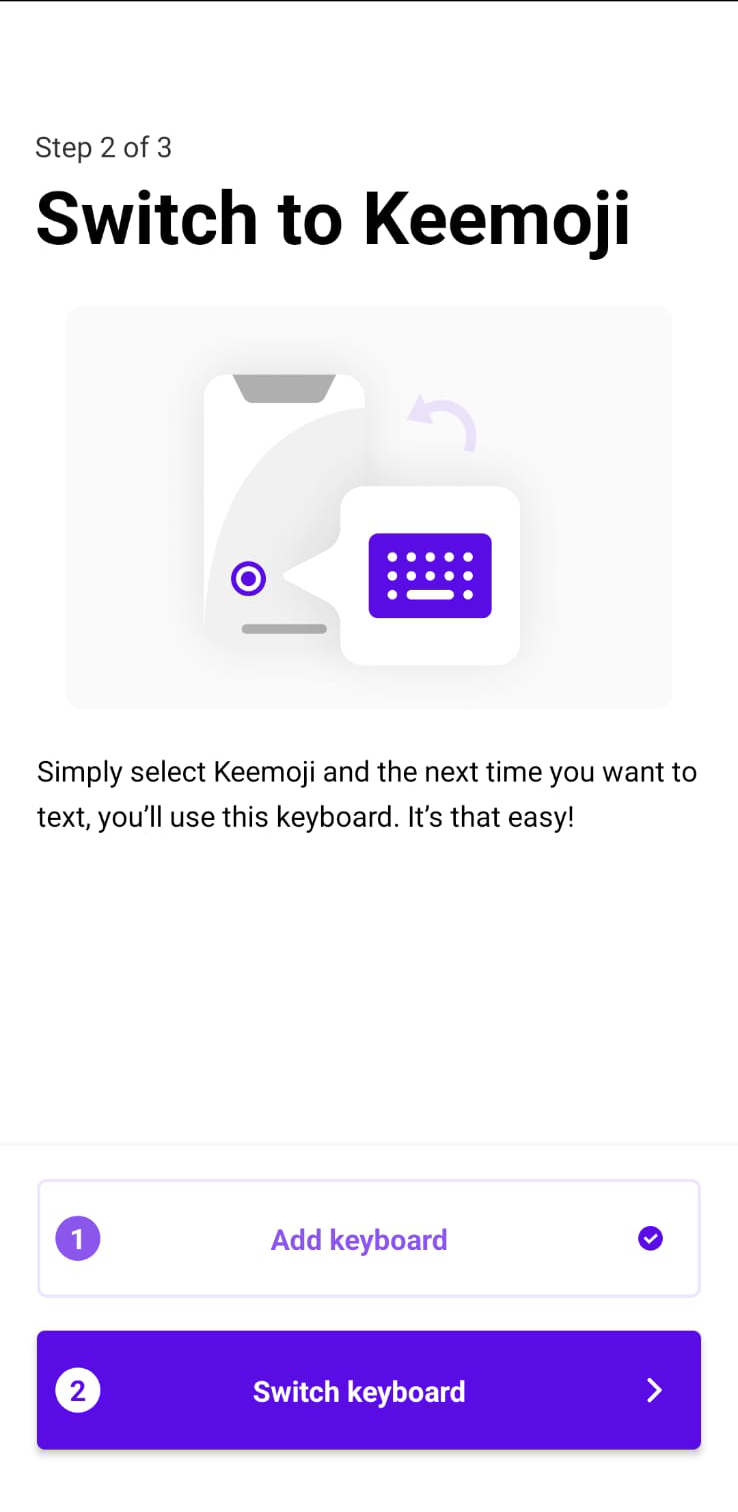
Switch Keyboard Screen
This screen, step 2 out of 3, guides the user to switch their default keyboard to the custom keyboard.

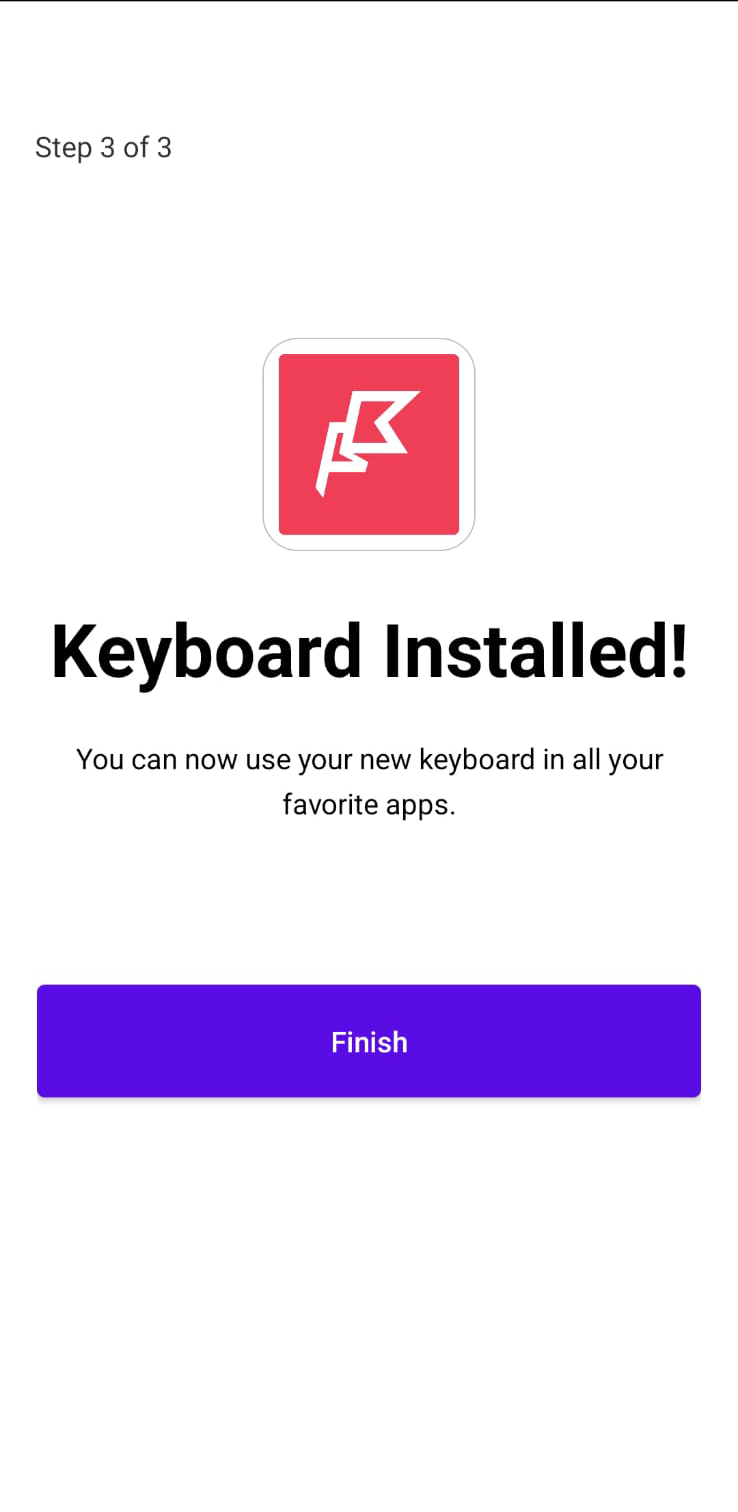
Switch Keyboard - Success Screen
This screen congratulates the user. This implies the user has successfully completed the action required in the previous step.
Updated about 1 year ago